Upright
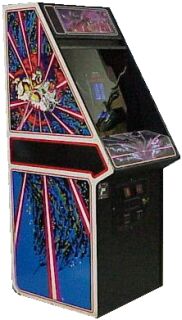
This is my first cabinet build. Hopefully the cabaret will go faster…
Design
Here’s a view of the current design in Sketchup

I’ll post the sketchup plans somewhere…
Back Panel
Found a link to a design of a hingeless back panel that I’m going to use.
Lessons Learned
Spoiler-filled section here, but I’ve already learned some lessons for next time:
use MDF instead of plywood: I was comfortable using plywood because I’ve built a bunch of stuff with plywood before, but 1) plywood sheets tend to be warped and 2) the grain is hard to hide
don’t bother with pocket holes: I didn’t want to use wood filler on the side panels so I used pocket holes to attach the battens on the inside. I think that was just a waste of time because wood filler is easy to use and the plywood grain is so visible anyway
don’t paint until assembled: (see T-Moulding section below)
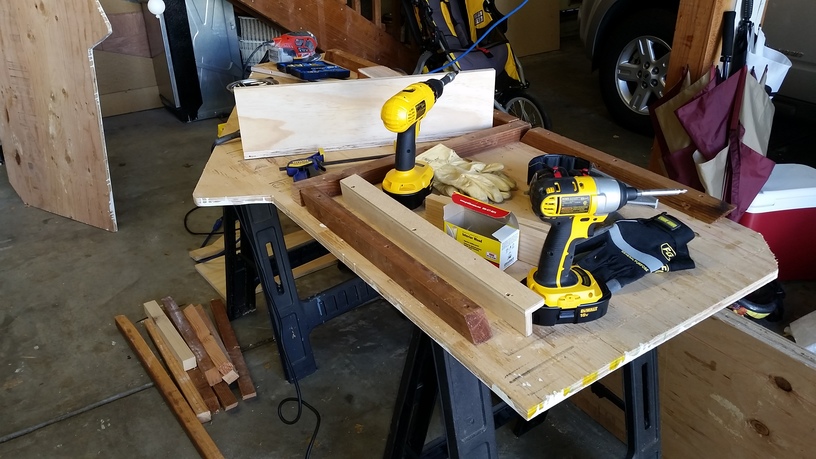
Woodworking
Here are some images from the build of the cabinet.
T-Moulding
I definitely should have routed these out before painting. I ended up getting lots of sawdust embedded in the paint, and I had to route from the painted side because I had already attached the battens to the back side. Woops.

routed out the sides to create the groove for the T-moulding
Here’s the wing bit to cut the groove
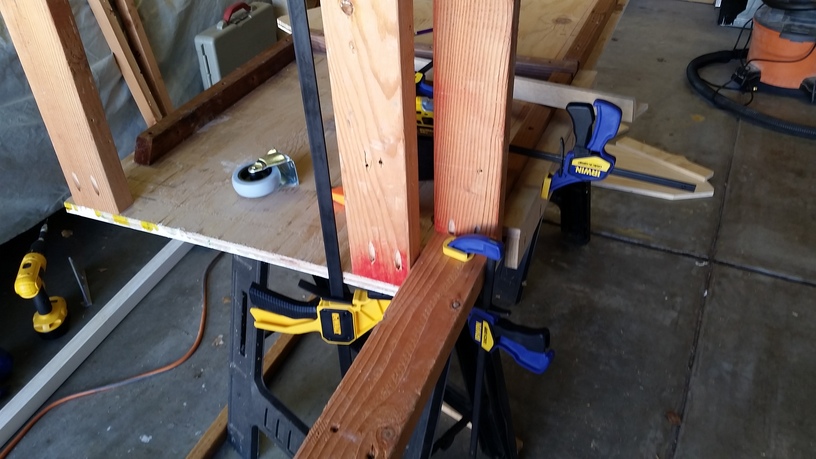
Framing
starting to attach battens to the sides
used pocket holes to attach the bottom frames
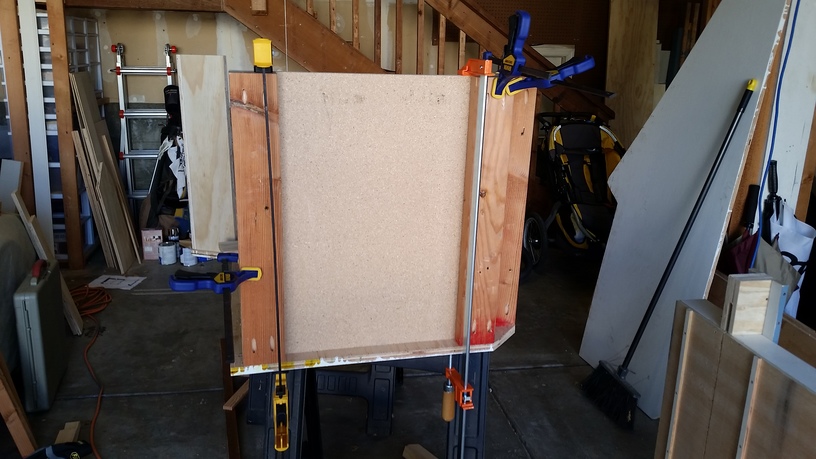
squared up the bottom using some left-over melamine sheet that will provide a nice smooth floor for the inside of the cabinet. I’ll use that space to store the extra control panels.
I was going to have a hinged panel on the front of the cabinet as access to the storage space, but because the plywood for the sides was so warped I decided that I needed some extra structure to straighten it out. So I used a single panel for the front and only have access through the coin door. This should be enough to get the panels out. (I’ll also have access through a large removeable back panel should I need more room.)
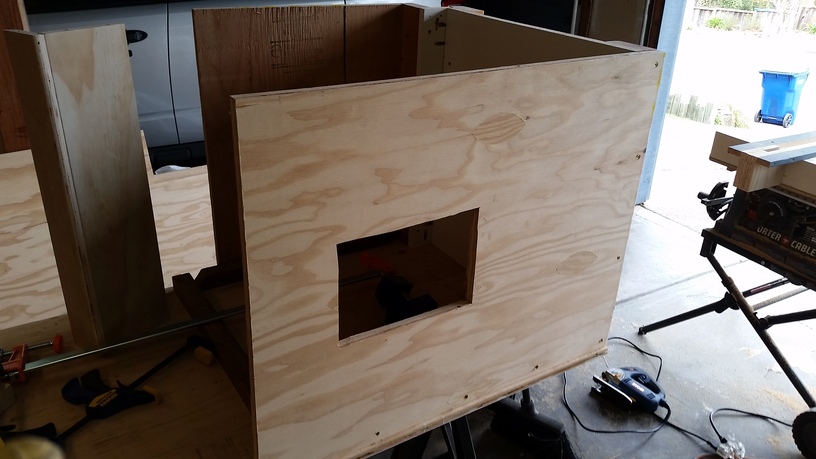
coin door cut out with a sabre saw
Whoa!

the cab stands for the first time!
The monitor mount
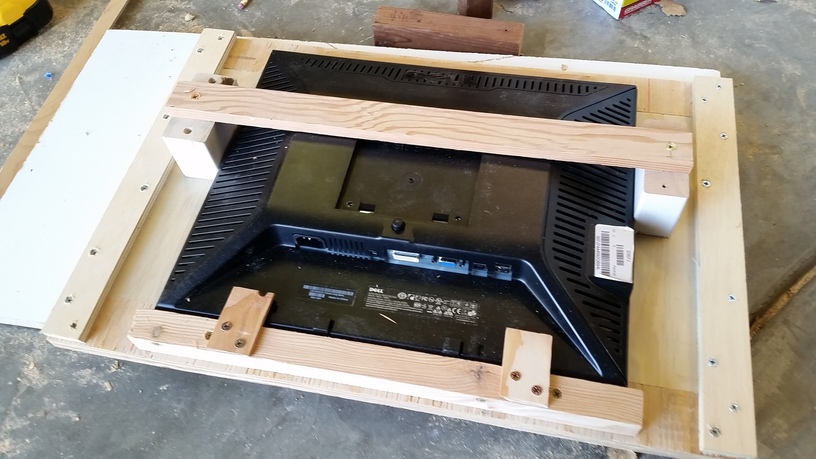
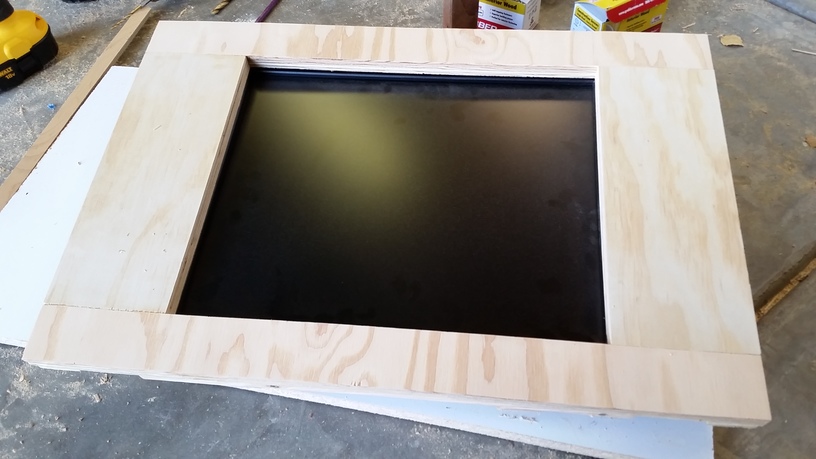
The whole monitor mount will have some glass (plexiglas?) in front of it, so no bezel art, just like Tempest. I’m not sure if I’ll use clear glass or smoked glass, but the wood will be painted flat black so hopefully the details of the monitor will be hidden.
I’m using a Dell 19” 4:3 monitor that I happened to have lying around. It has DVI input and 1280x1024 resolution. There are 5 front panel buttons and sit 1mm proud (oh! woodworking term!) of the face of the monitor frame, so I had to route out a little bit on the back of the frame that corresponded to the buttons. There is an LED indicator on the power button which will be defeated with opaque tape. :)