Jumpman: Reverse Engineering the Atari 8-bit Version
Kay Savetz and I have started reverse engineering the Atari 8-bit version of Jumpman.
Here is the latest version of our reverse engineering notes.
We are striving to reverse engineer the assembly code so that we can understand the custom code that is present in most levels. Further in the future, we would like to create a build system such that we can create a byte-exact copy of the binary image from source.
Note
Enter the JUMPMAN LEVEL DESIGN CONTEST! Kay and I invite you to create new Jumpman levels using the level editor in Omnivore and enter them in our contest. We will pick the best 32 levels and use them to create an entirely new edition of Jumpman!
You can post them on the forum, or if you’d rather submit them privately you can email them to me at feedback at playermissile dot com.
There is no deadline at this point, we want to give you time to check out the new capabilities of Omnivore to create custom levels.
Level Editor
Omnivore now includes a level editor!
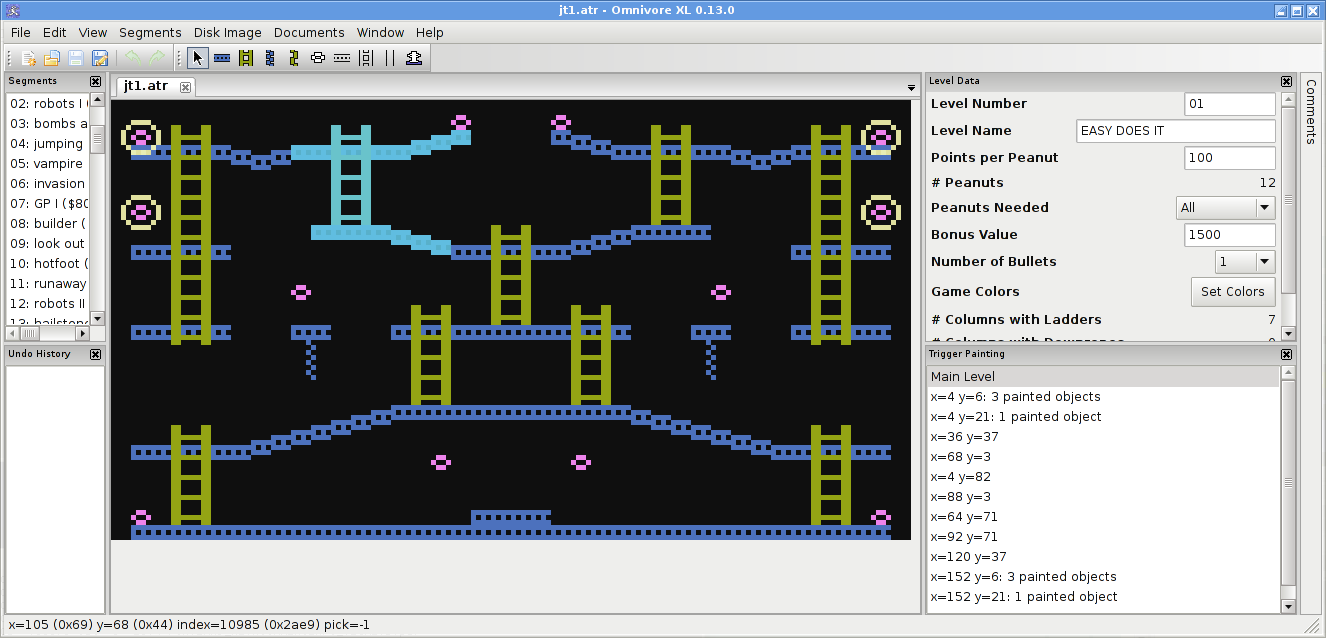
It’s a full GUI-based editor with a point-and-click interface to drawing and erasing elements. It was formally announced KansasFest 2016.
Note
Now including a 6502 assembler for development of levels with custom code!
You can watch Kay’s demonstration on how to use the editor on YouTube.
Quick Start For Basic Levels
Download Omnivore for Windows or Mac OS here.
Open Omnivore and choose File -> New -> Jumpman Level and you’ll see a very
simple level definition. You can add to that by clicking one of the draw icons
in the toolbar and drawing in the main window. By clicking on the arrow icon in
the toolbar you can select existing items and drag them around; you can cut,
copy and paste the selected items, and more. Change the level settings like the
level name and number of bullets in the right hand panel.
Tips:
Only one bomb per grid square
Use ramps that slope up or down by only one pixel per block
Girders can be placed at any position, but note that Jumpman can only fearlessly navigate the horizontal girders and ramps that are sloped up or down by one pixel per block. Ramps that slope up more than that can be (carefully) climbed, but down-slopes of more than one pixel will trip up and kill poor Jumpman. It’s not recommended to use more than one pixel slope up or down, but I have left the feature in the editor just in case someone comes up with a use for it.
Ladders can only be placed at even pixel columns (as measured from the left
side), and are further limited in that only 12 unique columns can be used.
Ladders can be placed above and below one another in the same column without
counting against the 12 column limit. The number of columns of ladders is shown
in the Level Data window.
Downropes can likewise only be placed at even pixel columns, and are limited to
6 unique column positions. As with ladders, multiple downropes can be placed in
the same column without counting against that limit. The number of downropes is
also shown in the Level Data window.
Upropes are not limited in either pixel columns or number of unique column positions, so knock yourself out.
The object of the game is to collect bombs, so be sure to place at least one bomb or the level will end immediately when you try to play it. When you place bombs, you’ll notice a grid that appears in the main window. Thick red borders between each grid cell denotes invalid bomb locations, so place bombs only where they don’t touch any of the red cell borders. (Due to a speed optimization in the code, the game can crash when Jumpman collects a bomb that is touching any part of the red shaded area.) Only one bomb may be placed per grid square.
Finally, you must set Jumpman’s respawn position by selecting the the Jumpman figure icon on the toolbar. Place the white square at the desired location. Typically, Jumpman will be placed on a girder, but other starting positions are possible. If the bottom of the square overlaps a girder, Jumpman will climb up. Note that Jumpman must not fall more than one pixel; more than that results in death.
To playtest your level: choose File -> Save As, give it a filename with the
.atr extension, and run it in your favorite emulator. You can also set up
Omnivore to run an emulator directly when you press F5; go to the Disk Image
-> Emulators -> Edit Emulators... entry to set up the emulator for your
platform.
For more complicated levels, Jumpman has a feature where it will draw new items
or erase existing ones when you collect a bomb. To create a level using this
feature, use the Trigger Painting panel to select one of the bombs (they
are listed by their x and y coordinates). The level will fade into the
background and you can paint more items in the main window. Everything you draw
(or erase) here will only get triggered when Jumpman collects that bomb. You
can even cascade triggers by adding more bombs and selecting the new bombs in
the trigger painting panel. Bombs will be indented to show the parent/child
relationship when there are multiple levels of nesting. Select the Main
Level entry to paint on the normal level definition.
Advanced Levels With Custom Code
Omnivore now has in integrated MAC/65 compatible assembler that recognizes specific keywords in your assembly code and puts them in the correct spots in your Jumpman level definition.
You will need to edit the assembly source with your favorite text editor and
then use the Jumpman -> Custom Code... menu item to add the source file to
your level. After that it will remember the file when you load the level again.
Be sure the source code is in the same directory as the .atr image. If you move
the .atr file to a new place, be sure to copy your assembly file as well.
The assembler recognizes certain labels in your assembly code. If any start
with trigger, those labels will be available as targets for peanut
collection. You can right click on peanuts and set their trigger function to
any of those in the list.
There are special vectors that Omnivore knows about; see the section in the Jumpman Reverse Engineering Notes.
If you give your code any of those labels:
vbi1
vbi2
vbi3
vbi4
dead_begin
dead_at_bottom
dead_falling
out_of_lives
level_complete
collect_callback
then Omnivore will put the vector for your subroutine in the right place in the level definition so that your routine gets automatically called. See the reverse engineering notes for more details on what each of the labels means.
There’s also one last special label: gameloop. If you define this in your
code, it will take over the non-VBI main game loop. If you don’t define it,
Omnivore will put the standard game loop at $2860. The game loop is responsible
for fading in jumpman at the beginning of a level and monitoring end-of-game
conditions. Only a few examples of a custom game loop exist Glover’s original
levels, so this is not a commonly used feature at all.
Disassembly
If you’re interested in exploring the assembly code in Jumpman, you’ll want to use the standard Jumpman disk image and then get the Omnivore metadata file that provides the comments.
Note that Omnivore recognizes a Jumpman disk image and loads right into the
level editor. To use the hex editor, you’ll need to use the menu option
Window -> New View of Jumpman -> In Hex Editor Window
Forum Posts
Jumpman Hacking - Kay’s new levels!
Welcome Back - the first new level in 33 years!
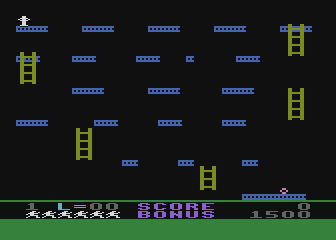
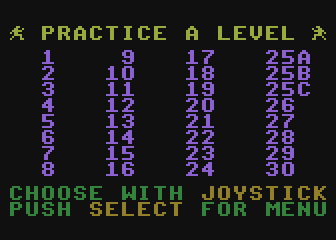
Jumpman: Practice any level - my first coding hack of Jumpman, with an additional menu screen to play any level
Resources
Interview with Randy Glover Listen to us talk to the creator of Jumpman!
Jumpman - the disk image that we used as the basis of our hacking
Jumpman #1 - we think this is the demo version that Randy Glover took to show Brøderbund and Epyx
Jumpman Junior - The cartridge with 12 different levels
Similar Projects
Reverse-engineered source code for PC version. Includes a level editor
Jumpman Lives unauthorized clone?
Jumpman Forever Kickstarted project on modern hardware
C64 Jumpman Level Editor Newly started project on the C64 version of Jumpman, inspired by our work on the Atari version!